A complete step-by-step guide to integrate WordPress SAML SSO with WSO2 Identity Server for secure Single Sign-On authentication using Keywoot SAML SSO Plugin
Key Features
Introduction
Are you looking to streamline user authentication on your WordPress site? Integrating SAML Single Sign-On (SSO) using WSO2 Identity Server can enhance security and provide a seamless login experience for your users.
Why Integrate WSO2 with WordPress for SAML SSO?
WSO2 Identity Server is a robust, open-source identity and access management solution that supports SAML 2.0. By configuring WSO2 as your Identity Provider (IdP) and WordPress as the Service Provider (SP), you can:
- Centralize Authentication: Manage user identities in one place.
- Enhance Security: Leverage SAML 2.0 protocols for secure communication.
- Improve User Experience: Allow users to access WordPress using existing credentials.
Step-by-Step Guide to Configure SAML SSO with WSO2 and WordPress
Install a SAML SSO Plugin on WordPress
- Navigate to your WordPress dashboard.
- Go to Plugins > Add New.
- Search for “Keywoot SAML SSO” in the WordPress plugin directory.
- Install and activate the plugin.
Configure WordPress as a Service Provider (SP) using Keywoot SAML SSO Plugin
- Access the plugin settings.
- Locate the Service Provider Metadata section to obtain the SP Entity ID and ACS (Assertion Consumer Service) URL.
Set Up WSO2 as the Identity Provider (IdP)
- Log in to the WSO2 Identity Server admin console.
- Navigate to Main > Identity > Service Providers > Add.
- Enter a suitable name for the service provider (e.g., “WordPress-SP”).
- Under Inbound Authentication Configuration, select SAML2 Web SSO Configuration and click Configure.
- Input the following details:
- Issuer: Use the SP Entity ID from the WordPress plugin.
- Assertion Consumer URL: Enter the ACS URL obtained earlier.
- Configure additional settings as needed, such as enabling Single Logout, selecting NameID formats, and setting attribute profiles.
- Click Register to save the configuration.
Import IdP Metadata into WordPress
- In the WSO2 admin console, download the IdP metadata file.
- Return to the WordPress SAML SSO plugin settings.
- Navigate to the Identity Provider Settings section.
- Upload the IdP metadata file or enter the metadata URL.
- Save the settings to establish the connection between WordPress and WSO2.
Test the SSO Configuration
- Use the Test Configuration feature in the WordPress plugin to verify the SSO setup.
- Ensure that users can log in to WordPress using their WSO2 credentials and that the appropriate user attributes are mapped correctly.
Additional Features to Enhance Your SSO Setup
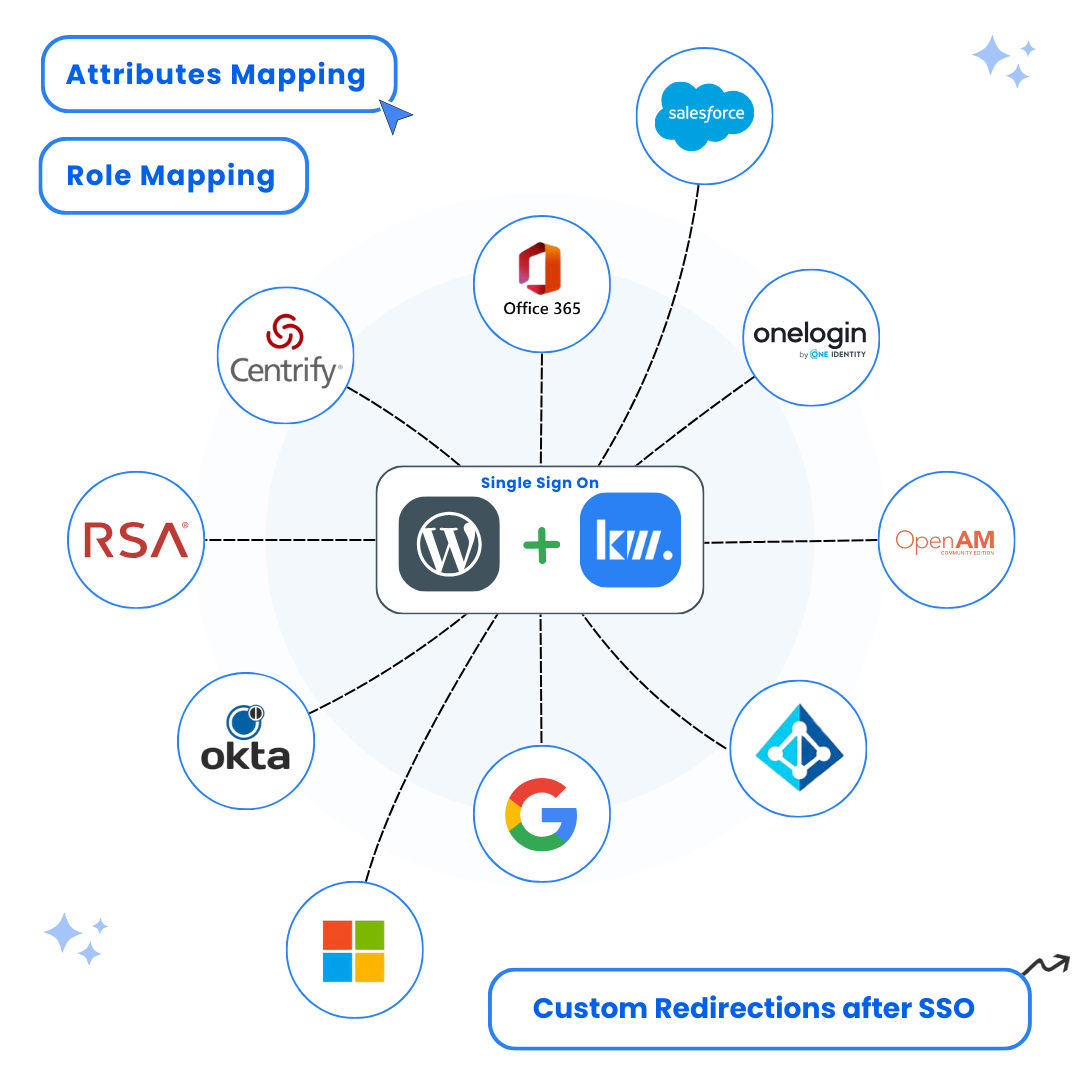
- Attribute Mapping: Map user attributes from WSO2 to WordPress user profiles to maintain consistency across platforms.
- Role Mapping: Assign WordPress roles based on user groups or roles defined in WSO2.
- Single Logout (SLO): Ensure that logging out from WordPress also logs the user out of WSO2 and other connected applications.
- Access Restrictions: Protect specific pages or posts on your WordPress site, granting access only to authenticated users.
Conclusion
Integrating WSO2 Identity Server with your WordPress site for SAML SSO provides a secure, efficient, and user-friendly authentication solution. By centralizing user management and leveraging robust security protocols, you can enhance the overall experience for both administrators and users.


