Introduction to WordPress Azure AD SSO Integration
Securing your WordPress site is essential, and implementing Single Sign-On (SSO) through Azure Active Directory (Azure AD) offers a powerful solution. With our WordPress Azure AD SSO integration, you can ensure your WordPress site is SAML 2.0 compliant, providing a secure and seamless login experience. This guide will help you configure SAML Single Sign-On (SSO) for WordPress using Azure AD, leveraging Microsoft Entra ID for efficient user authentication.
Using WordPress Azure AD login, your users can authenticate with their Azure AD credentials, simplifying the login process and enhancing security. This WordPress SSO Azure AD setup not only secures your WordPress site but also streamlines user management by centralizing authentication through Azure AD.
Prerequisites for Configuring SAML SSO
Before you start setting up SAML SSO for WordPress using Azure AD, ensure you have the following:
- Active Azure AD Subscription: You need an active subscription to Azure AD or Microsoft Entra ID.
- Administrator Access to Azure AD Portal: Ensure you have the necessary administrative access to configure settings in the Azure AD portal.
- Administrator Access to Your WordPress Site: You need administrator access to your WordPress site to install and configure the SSO plugin.
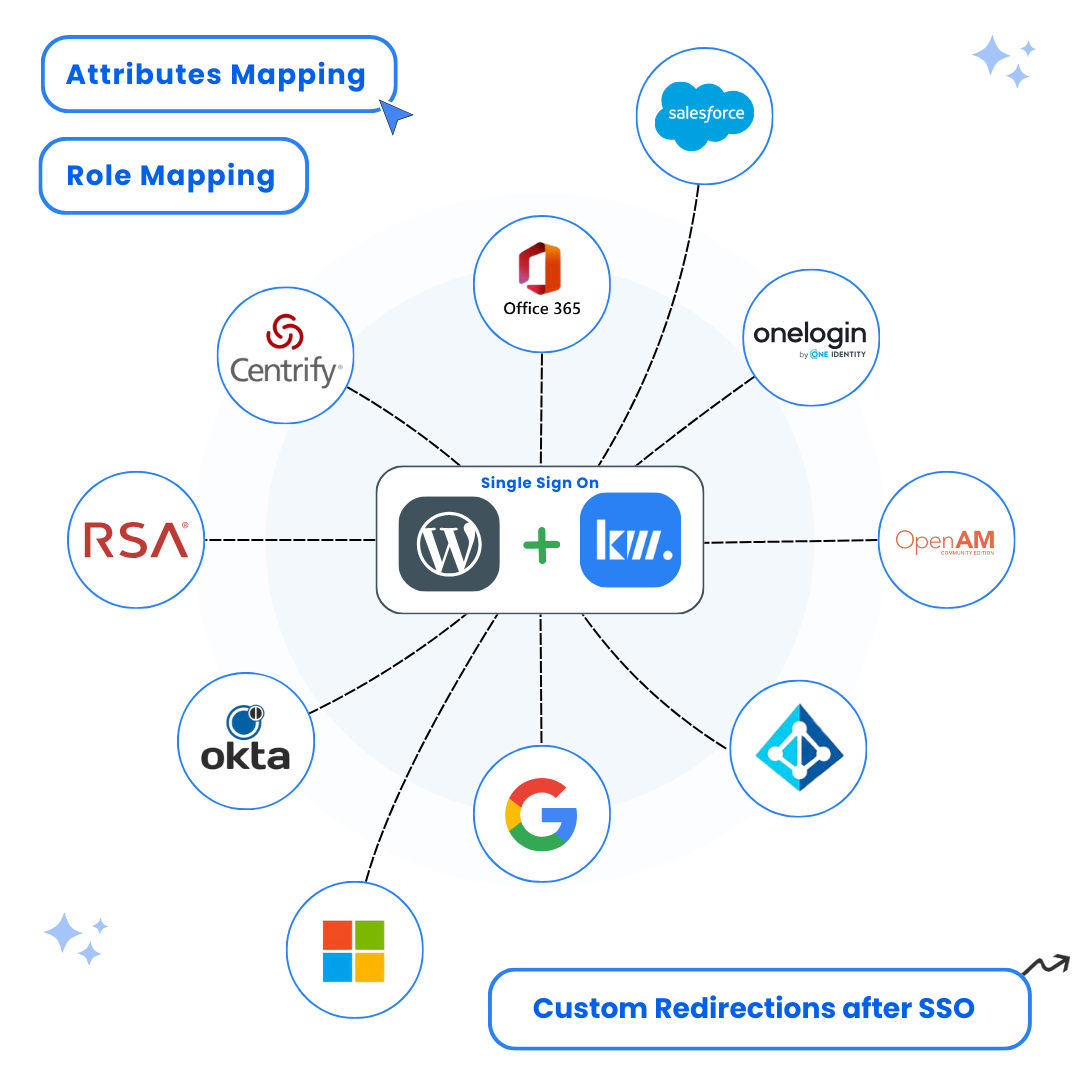
- Keywoot SAML SSO Plugin for WordPress: This plugin is essential for integrating Azure AD SSO with your WordPress site.
Steps to Configure WordPress Azure SSO
Azure AD Setup through Enterprise Applications
Set Up Azure AD as an Identity Provider for WordPress Azure ad login
- Register the Application in Azure AD:
- Log in to the Azure AD portal and navigate to Microsoft Entra ID.

- Go to “Enterprise applications” and select “New application.”
- Choose “Create your own application,” enter a name, and select “Integrate any other application you don’t find in the gallery.”
- Click “Create” to register the application.
- Log in to the Azure AD portal and navigate to Microsoft Entra ID.
- Configure SAML Settings:
- In the newly created application, navigate to “Single sign-on” and select “SAML.”
- Click “Edit” in the Basic SAML Configuration section.
- Enter the following details:
- Identifier (Entity ID): This should be your WordPress site URL.
- Reply URL (Assertion Consumer Service URL): Input the URL provided by your SAML SSO plugin.
- Save your settings and copy the metadata URL.


Configure the SAML SSO Plugin in WordPress for WordPress Azure ad login
- Plugin Configuration:
- Access the SAML SSO plugin settings in your WordPress dashboard.
- Under the “Service Provider Setup” tab, upload the IDP Metadata:
- Enter the Identity Provider Name.
- Paste the metadata URL you copied earlier and click “Fetch Metadata.”
- Test Configuration:
- Click “Test configuration”and authenticate using your Azure AD credentials. If configured correctly, you will be redirected to the WordPress dashboard, confirming that your Azure AD WordPress SSO is working. Congrats you have configured WordPress Azure ad login with SSO on your site
- Click “Test configuration”and authenticate using your Azure AD credentials. If configured correctly, you will be redirected to the WordPress dashboard, confirming that your Azure AD WordPress SSO is working. Congrats you have configured WordPress Azure ad login with SSO on your site


Premium Feature: SAML Logout URL
In the premium version of the plugin, you can specify a SAML Logout URL to enable Single Logout (SLO) functionality. This feature enhances the security of your WordPress site by ensuring that users are logged out of both Azure AD and WordPress.
Step 3: Attribute Mapping
Attribute mapping is crucial for aligning user attributes from Azure AD with those in WordPress. To configure attribute mapping:
- Navigate to the “Attribute/Role Mapping” tab in the SSO plugin settings.
- Fill in the required fields under the Attribute Mapping section to link attributes sent by Azure AD to WordPress usermeta.
Custom Attribute Mapping
The custom attribute mapping feature allows for mapping any attribute from Azure AD to WordPress usermeta, providing flexibility in managing user data.
Step 4: Role Mapping
Role mapping is essential for assigning and managing user roles during SSO. It supports both default WordPress roles and custom roles.
- Navigate to the “Attribute Mapping” section and map the Group/Role field, which contains role-related information sent by Azure AD.
- In the “Role Mapping” section, configure mappings for the desired roles. For example, if the Group/Role attribute value is “wp-editor,” map it to the Editor role in WordPress.
Step 5: Configure SSO Settings
The premium plugin version includes several options for configuring SP-initiated SSO:
- Auto-Redirection from Site:
- Go to the “Redirection and SSO Links” tab.
- Under “Option 1: Auto-Redirection from Site,” enable the “Redirect to IdP if user not logged in” option to redirect unauthenticated users to Azure AD for login and then back to their original page.
- Auto-Redirection from WordPress Login:
- Enable “Redirect to IdP from WordPress Login Page” to redirect unauthenticated users trying to access the default WordPress login page to Azure AD.
- Custom Login Button:
- Add a customized login button to your site or WordPress login page via “Option 3: Login Button.”
- SSO Links:
- Use the provided Shortcode and Widget in “Option 4: SSO Links” to add SSO links anywhere on your site.
By following this guide, you will successfully configure WordPress Azure AD SSO. This WordPress Azure ad login integration ensures secure and efficient access to your WordPress site using Azure AD credentials, providing a streamlined and secure user experience.