A complete step-by-step guide to integrate WordPress SAML SSO with Keycloak for secure Single Sign-On authentication.
Key Features
Introduction
Are you looking to simplify your WordPress Keycloak SSO Login integration and make user authentication hassle-free? Keycloak WordPress SSO allows your users to log in to your WordPress site using their Keycloak credentials, making the login process simple and efficient. Learn more about WordPress SAML SSO and its benefits.
This guide will take you through the process of setting up Keycloak as your Identity Provider (IdP) and WordPress as your Service Provider (SP) using the Keywoot SAML SSO Plugin. Designed to simplify the Keycloak WordPress SSO setup, this guide provides clear and detailed instructions to ensure everything is configured smoothly, saving you time and effort. Check out our pricing plans to find the perfect solution for your needs.
How to Setup Keycloak WordPress SSO?
Setting up WordPress Keycloak SSO integration enables your users to access your WordPress site using their Keycloak credentials, providing a seamless and secure authentication experience. This guide will walk you through the complete process of implementing Keycloak WordPress login functionality.
By following this step-by-step guide, you’ll simplify the Keycloak WordPress Login process, enabling users to access your WordPress site securely with their existing Keycloak accounts. Whether you’re just starting with Single Sign-On (SSO) or looking to enhance your current Keycloak WordPress Login integration, this guide has everything you need.
Step-by-Step Configuration – Setting Up WordPress Keycloak SSO Integration
Installing the WordPress SAML SSO Plugin
To connect your WordPress site with Keycloak, you’ll need to install a WordPress SAML SSO plugin. Here’s how:
Instructions:
- From your WordPress Dashboard, navigate to Plugins → Add New.
- In the search bar, type in “Keywoot SAML SSO”
- you will find SAML SSO Login – WP Single Sign On by keywoot. Click “Install Now” and then “Activate”
- After installing the plugin, navigate to the SP Metadata tab of Plugin and keep it open. You’ll need the metadata details from this tab for the upcoming configuration steps.
Dashboard → Plugins → Add New → Search for “Keywoot SAML SSO”
Screenshots:

Configuring Keycloak as Your Identity Provider (IdP)
Creating SAML Client In Keycloak by Configuring Service Provider (SP) Details in IdP
Instructions:
- Open your Keycloak Admin Console and select your realm.
- Go to Clients and click Create Client
- Choose SAML as the Client type.
- In the Client ID field, paste the SP Entity ID (Note: you can find SP Entity ID in the SP metadata Tab of SSO Plugin)
- Enter a name for your application and provide a description.
- Click Next.
Screenshots:


Enter Login Settings Details:
- Root URL: Use the Assertion Consumer Service URL (ACS URL) from our plugin. You can find the ACS URL in the SP metadata tab of the SSO plugin.
- Valid Redirect URIs: Use the ACS URL in this field as well.
- Click Save
Screenshots:

SAML Capabilities Section:
- Navigate to Settings Tab and find SAML capabilities Section, make these change
- Name ID Format: Email
- Force POST Binding: OFF
- Force Name ID Format: ON (Make sure this is Turned ON)
- Click Save
- Now Go to the Keys tab and turn off Client signature required and then Click Save.
Screenshots:


Go to Advanced Tab and Configure details:
- In the Advanced Tab, under Fine Grain SAML Endpoint Configuration make the below changes:
- Assertion Consumer Service POST Binding URL: Use the Assertion Consumer Service URL (ACS URL) from plugin SP metadata Section.
- Logout Service Redirect Binding URL (Optional): Use the Single Logout URL from plugin SP Metadata Section.
- Save these Settings
Screenshots:


Adding Mappers for User Attributes
Instructions:
- Go to Client Scopes Tab, select your application, and click Add predefined mapper.
- Check X500 givenName, X500 surname, and X500 email.
- Click Add.
Screenshots:


Getting Metadata URL
Instructions:
- Go to Realm Settings in the sidebar.
- Click on the SAML 2.0 Identity Provider Metadata link.
- Copy the URL of the metadata page which got opened after clicking (This URL Will be used later).
Screenshots:


Configuring WordPress as Service Provider (SP)
Instructions:
- Go to the Service Provider Setup tab.
- Enter the Identity Provider Name.
- Paste the metadata URL copied in the previous step.
- Click Fetch and save Metadata.
Screenshots:

Testing Configuration
Instructions:
- Click the Test Configuration button to verify if the trust has been successfully established.
- If a success window appears displaying the user attributes received from Keycloak, Congratulations—your Keycloak WordPress SSO is now configured!
Screenshots:

Important
If you encounter any issues, please reach out to our support team at support@keywoot.com or visit our contact page. We are happy to assist you!
Premium Features and Their Configuration
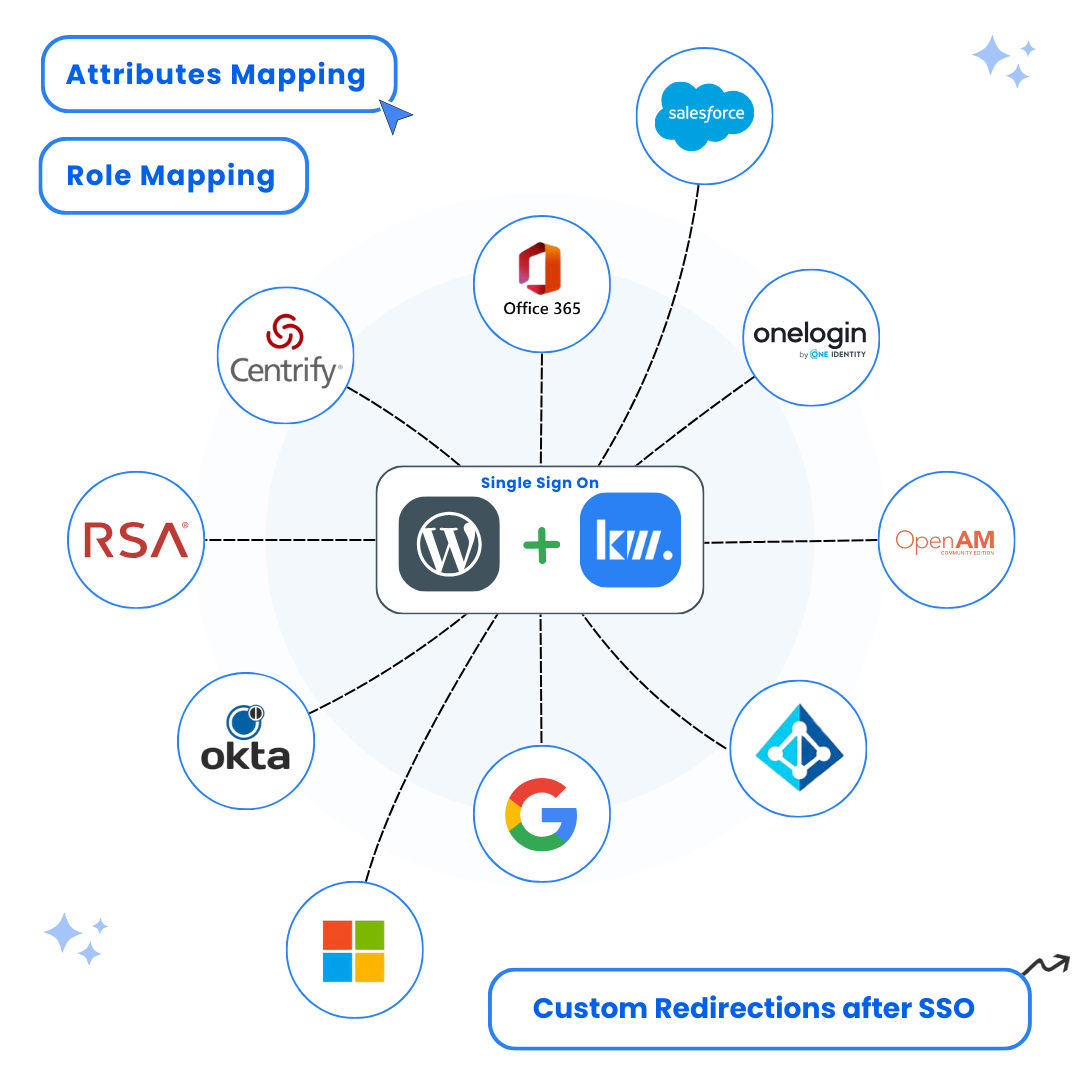
Attribute Mapping
Attribute mapping is crucial for aligning user attributes from Keycloak with those in WordPress. To configure attribute mapping with Keycloak WordPress SSO:
- Navigate to the “Attribute and Roles” tab in the SSO plugin settings.
- Map user attributes sent by IDP to corresponding attributes in WordPress.
- Fill in the required fields under the Attribute Mapping section to link attributes sent by IDP to WordPress usermeta.
For more detailed information about our features, visit our features page.
Role Mapping
Role mapping is essential for assigning and managing user roles during SSO. It supports both default WordPress roles and custom roles.
- In the same Attribute Mapping section, set up role mappings.
- Define how Keycloak roles correspond to WordPress roles.
- Ensure that the mapping accurately reflects your organization’s role structure for proper access control.