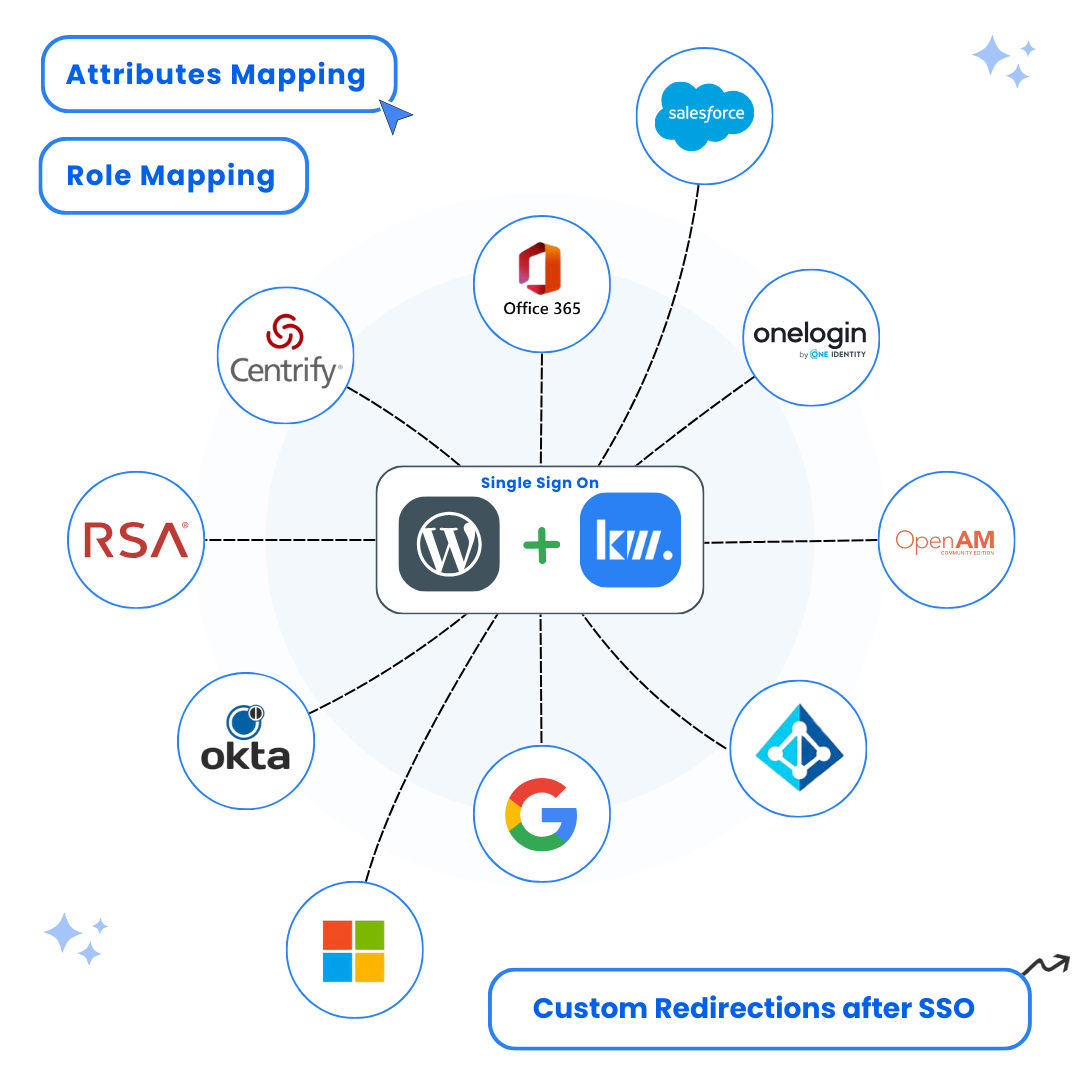
A complete step-by-step guide to configure AWS Single Sign-On (SSO) Login into WordPress using SAML SSO.
Key Features
AWS SSO Integration
Attribute Mapping
User Management
Secure Authentication
Steps to Configure AWS Single Sign-On (SSO) Login into WordPress
1
Set Up AWS as an Identity Provider (IdP) for WordPress SSO Login
Instructions:
- Log in to your AWS account
- In the AWS Management Console, search for AWS Single Sign-On under AWS Services
- Click on Enable AWS SSO
- Click on Create AWS Organization if not already created
2
Add a New Application
Instructions:
- Navigate to Applications → Click Add a new application
- Select Add a custom SAML 2.0 application
- Fill in the application details (Application name, Description, etc.)
- You’ll need to fill service provider details like SP EntityID/Issue and ACS Url. All these details can be found in the SP Metadata Tab of the Plugin
- Download the AWS SSO SAML Metadata file (required for configuring WordPress as a Service Provider in the next step)
3
Configure Attribute Mappings
Instructions:
- Go to the Attribute mappings tab and configure user attributes such as:
- First Name
- Last Name
- Email Address
4
Assign Users to the Application
Instructions:
- Go to Assigned Users in the configured application
- Click Add User to assign existing users or create new users under Users → Add User
- Enter the required user details, assign groups, and save changes
5
Configure WordPress as a Service Provider (SP)
Option A: Upload IdP Metadata (Recommended)
- Navigate to the Service Provider Setup tab in the SAML SSO plugin
- Choose your Custom IDP from the list. You will see Auto Configuration Page
- Here you can either fetch IDP Metadata using AWS Metadata URL or you can Simply Upload the metadata file. Plugin Will Automatically fetch the data and configure itself
- After that click on the Test Configuration button to test the SSO Configured
Option B: Manual Configuration
- Enter the required details manually:
- Identity Provider Name
- IdP Entity ID / Issuer
- SAML Login URL
- X.509 Certificate (provided in the AWS SSO Metadata file)
- Click Save
- Click Test Configuration to verify the attributes and values received from AWS IdP
Conclusion
By following these steps, you can successfully configure AWS as an Identity Provider (IdP) and WordPress as a Service Provider (SP) for seamless Single Sign-On (SSO) authentication.
Need Help?
If you encounter any issues during the setup process, our support team is here to help. Contact us at support@keywoot.com


