Your complete guide to WordPress SAML SSO integration with ADFS. Learn how to set up WordPress login with ADFS, configure WP ADFS SSO, and enable secure authentication.
Key Features of WordPress ADFS SSO Integration
WordPress ADFS SSO Integration: Complete Guide
Looking to enable WordPress ADFS SSO? This comprehensive guide will walk you through setting up WordPress SAML SSO with ADFS as Identity Provider, enabling your users to log in to WordPress using their Active Directory credentials through ADFS (Active Directory Federation Services).
This setup ensures secure, seamless, and centralized authentication for your organization, making WordPress login with ADFS a breeze for your users.
What is WordPress ADFS SSO?
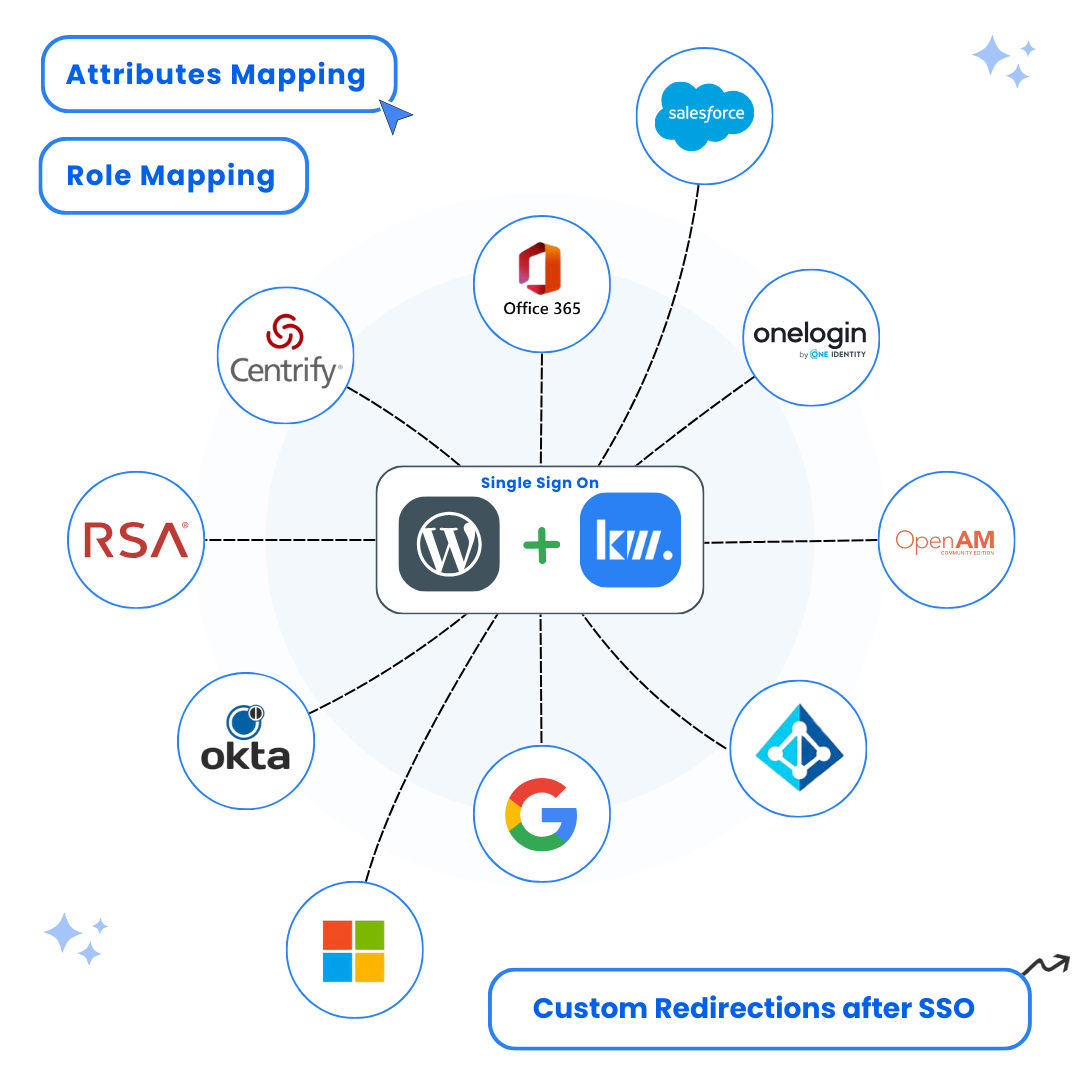
WordPress ADFS SSO enables users to authenticate once through Active Directory and access your WordPress site without needing separate credentials. It leverages the SAML 2.0 protocol to create a secure, seamless login experience between your ADFS server and WordPress website.
By implementing this integration, you create a unified authentication system that enhances security while improving user experience.
How WordPress ADFS SSO Works
Here’s the authentication flow when using WordPress ADFS SSO:
- A user attempts to log into your WordPress site
- They are redirected to ADFS for authentication
- After successful login with Active Directory credentials, they are automatically logged into WordPress
- User attributes and roles are mapped from Active Directory to WordPress
Prerequisites
- A live WordPress website with HTTPS (SSL certificate installed)
- WordPress SAML SSO plugin installed and activated
- Access to an ADFS server with administrative privileges
- ADFS version 2.0 or above (recommended: ADFS 3.0 or later)
Step-by-Step Configuration Guide
Install and Activate the WordPress SAML SSO Plugin
- Log in to your WordPress admin dashboard
- Go to Plugins → Add New
- Search for “SAML SSO Login – WP Single Sign On” by Keywoot
- Click Install Now and then Activate
- After activation, you’ll see a new menu item called “SAML SSO” in your WordPress admin sidebar
You can also download the plugin directly from WordPress.org plugin directory.
Configure ADFS as Identity Provider (IdP)
Step 2.1: Access ADFS Management
- On your ADFS server, open Server Manager
- Click on Tools in the top-right corner
- Select AD FS Management from the dropdown menu
Step 2.2: Create Relying Party Trust
- In the ADFS Management console, expand AD FS in the left panel
- Click on Trust Relationships
- Right-click on Relying Party Trusts and select Add Relying Party Trust
- Click Start on the Welcome screen
- Select Claims aware and click Start
- Choose one of the following methods:
- Method A: Using SP Metadata URL (Recommended)
- Select Import data about the relying party from a file or URL
- Enter your WordPress SAML plugin’s metadata URL:
https://your-wordpress-site.com/?kwsso_action=kwsso-fetch-sp-metadata
(Replace ‘your-wordpress-site.com’ with your actual WordPress domain) - Click Next to automatically import all SP settings
- Method B: Manual Configuration
- Select Enter data about the relying party manually
- Enter a display name (e.g., “WordPress SSO”) and click Next
- Method A: Using SP Metadata URL (Recommended)
Configure SAML SSO Settings in ADFS
Step 3.1: Configure URLs
- If you used Method A (SP Metadata URL), the URLs will be automatically configured
- If you used Method B (Manual Configuration):
- Skip the certificate configuration by clicking Next
- On the Configure URL screen:
- Check the box for Enable support for the SAML 2.0 WebSSO protocol
- In the Relying party SAML 2.0 SSO service URL field, enter your WordPress site’s ACS URL:
Default: https://your-wordpress-site.com/wp-content/plugins/keywoot-saml-sso/
(Replace ‘your-wordpress-site.com’ with your actual WordPress domain)
Note: You can find the exact ACS URL in your WordPress SAML plugin’s SP Metadata Tab
- Click Next
Step 3.2: Set Identifiers
- If you used Method A (SP Metadata URL), the identifiers will be automatically configured
- If you used Method B (Manual Configuration):
- In the Configure Identifiers screen:
- Enter your WordPress site’s Entity ID as the Relying party trust identifier:
Default: https://your-wordpress-site.com/
(Replace ‘your-wordpress-site.com’ with your actual WordPress domain)
Note: You can find the exact Entity ID in your WordPress SAML plugin’s SP Metadata Tab
- Enter your WordPress site’s Entity ID as the Relying party trust identifier:
- Click Next and then Finish
- In the Configure Identifiers screen:
Configure Claim Rules in ADFS
Step 4.1: Add Claim Rules
- In the ADFS Management console, right-click on your new Relying Party Trust
- Select Edit Claim Issuance Policy
- Click Add Rule
- Select Send LDAP Attributes as Claims and click Next
Step 4.2: Configure Attribute Mappings
- Set the following configuration:
- Claim rule name: Send LDAP Attributes
- Attribute store: Select Active Directory
- Mapping: Add these mappings one by one:
- LDAP Attribute:
E-Mail-Addresses→ Outgoing Claim Type:Name ID - LDAP Attribute:
Given-Name→ Outgoing Claim Type:givenName - LDAP Attribute:
Surname→ Outgoing Claim Type:sn - LDAP Attribute:
SAM-Account-Name→ Outgoing Claim Type:uid
- LDAP Attribute:
- Click Finish to save the rule
Configure IDP Details in WordPress Plugin
Step 5.1: Access Plugin Settings
- In WordPress admin, navigate to SAML SSO → Identity Provider Settings
- Locate the IDP Configuration section
Step 5.2: Configure IDP Settings (Choose Method A or B)
Method A: Using ADFS Metadata URL (Recommended)
- To find your ADFS metadata URL:
- Open AD FS Management console
- Right-click on AD FS in the left panel
- Select Properties
- Look for Federation Metadata URL or Federation Service Identifier
- The metadata URL will be in the format:
https://your-adfs-server/federationmetadata/2007-06/federationmetadata.xml
- In the plugin settings, look for Identity Provider Tab, In the Identity Provider Tab under Auto Configuration, there will be a Field to enter Metadata URl And Fetch
- Enter your ADFS metadata URL:
https://your-adfs-server/federationmetadata/2007-06/federationmetadata.xml
(Replace ‘your-adfs-server’ with your ADFS server name) - Click Fetch Metadata to automatically import all IDP settings
Method B: Using ADFS Metadata File
- On your ADFS server, open AD FS Management
- Right-click on AD FS in the left panel
- Select Properties
- Click View Federation Metadata
- Save the metadata file (XML format)
- In Plugin Setting Identity Provider Tab there will a option in To upload IDP Metadata, Once Uploaded Plugin Will configure Automatically
Method C: Manual Configuration
- If you cannot use metadata, follow these steps to get ADFS information and configure manually:
- In ADFS Management, go to Service → Certificates
- Right-click on the Token-signing certificate
- Select View Certificate
- Go to the Details tab
- Click Copy to File and save it as a .cer file
- Open the .cer file in a text editor and copy the entire certificate content
- Enter the following IDP details manually in the Identity Provider Tab Under Manual Configuration:
- IDP Entity ID:
http://your-adfs-server/adfs/services/trust
(Replace ‘your-adfs-server’ with your ADFS server name) - SSO URL:
https://your-adfs-server/adfs/ls/ - X.509 Certificate: Paste the certificate content you copied earlier
- IDP Entity ID:
- Click Save Changes
Important:
Using the metadata URL (Method A) is recommended as it automatically keeps your configuration up to date with any changes made to your ADFS server. Make sure your ADFS server is accessible from your WordPress site for the metadata URL method to work.
Test the ADFS WordPress SSO Login Integration
Verify your WordPress ADFS SSO setup is working correctly.
Instructions:
- Once the metadata is configured, click on Test Configuration to test the setup.
- This will open a new window asking you to log in using ADFS credentials.
- Authenticate with your Active Directory credentials
- Verify successful login and access
- After logging in, you should see a successful test connection screen. If you encounter any errors, please reach out to us at support@keywoot.com for assistance.
Optional: Enable Single Logout (SLO)
- Get the SLO URL from your WordPress SAML plugin
- In AD FS Management:
- Go to the Endpoints tab for the Relying Party Trust
- Click Add SAML
- Set:
- Endpoint type: SAML Logout
- Binding: POST
- Trusted URL: Add Plugin’s SLO URL which can be found in Plugin SP Metadata Tab
WordPress ADFS SSO Integration: Final Thoughts
Implementing WordPress SAML ADFS login enables secure, scalable, and efficient authentication for all users in your Active Directory environment. Whether you’re running a small team or a large enterprise, this WP ADFS SSO setup ensures a seamless login experience using your existing ADFS infrastructure.
Need Help with WordPress ADFS SSO?
If you’re stuck with your WordPress SAML ADFS integration, we’re here to help:
- 💬 Email Support: support@keywoot.com