A complete step-by-step guide to integrate WordPress SAML SSO with any SAML Compliant Identity Provider for secure Single Sign-On authentication.
Key Features
Introduction
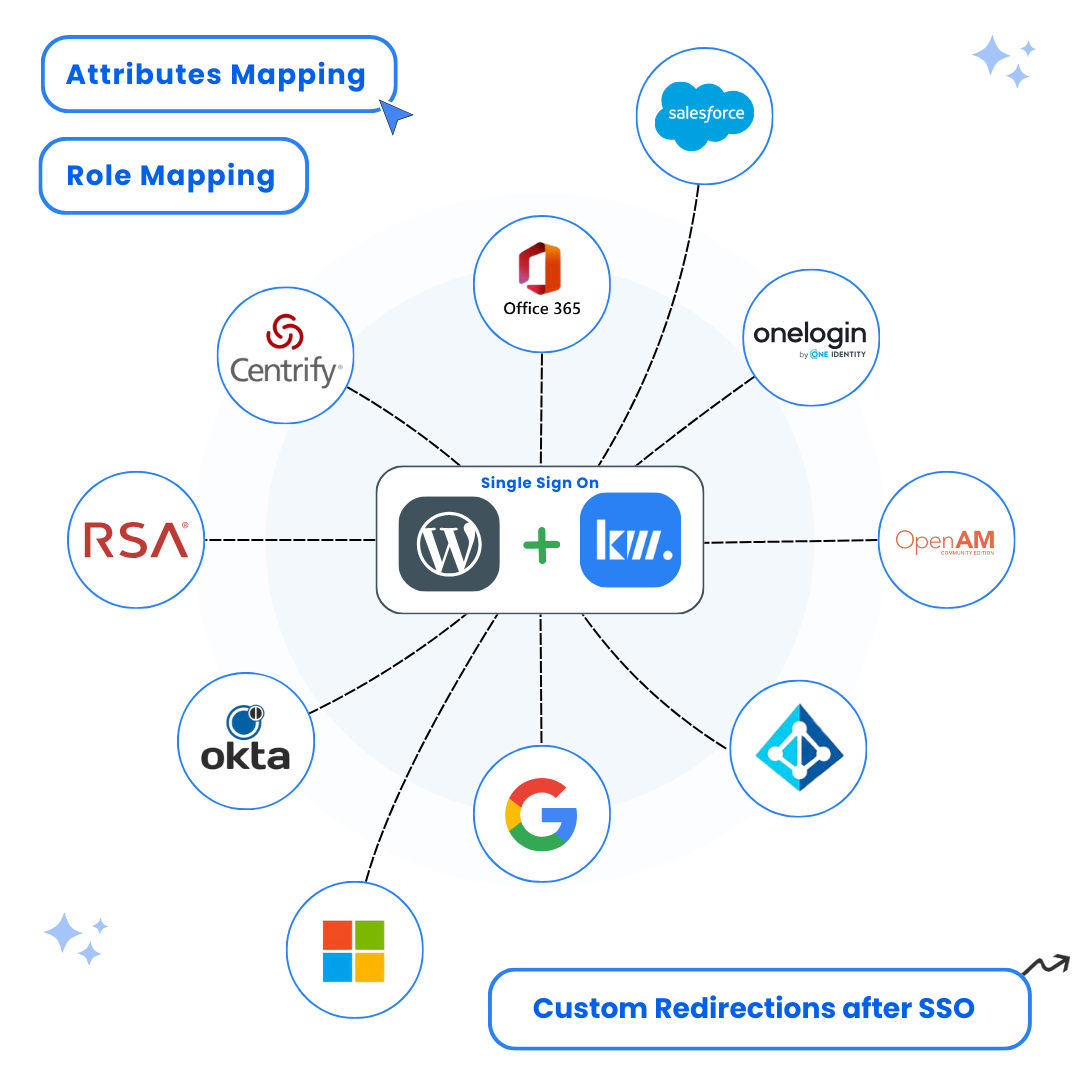
The Keywoot WordPress SAML SSO Plugin enables seamless Single Sign-On (SSO) by integrating your WordPress site with any SAML 2.0-compliant Identity Provider (IdP). Follow the steps below to configure the plugin with your custom IdP.
Use Cases
Enterprise Authentication
Allow employees to access WordPress using their company Google Workspace credentials, maintaining security standards and reducing password fatigue.
Member-only Content
Easily restrict WordPress content to authenticated organizational members without requiring separate credentials.
Prerequisites
- A WordPress website with administrator access
- The WordPress SAML SSO Plugin (KeyWoot SSO) installed and activated
- A SAML Compliant Identity Provider with administrator access
Step-by-Step Configuration
Installing the WordPress SAML SSO Plugin
Navigate to your WordPress Dashboard, go to Plugins → Add New, search for the KeyWoot SAML SSO plugin, and install it. Alternatively, you can upload the plugin ZIP file if you have it.
Instructions:
- Log in to your WordPress admin dashboard
- Navigate to Plugins → Add New
- Search for “Keywoot SAML SSO”
- you will find SAML SSO Login – WP Single Sign On by keywoot . Click “Install Now” and then “Activate”
Dashboard → Plugins → Add New → Search for “Keywoot SAML SSO”
Screenshots:
 on WordPress using any SAML Identity Provider 9")
Configure Service Provider (SP) Details in IdP
To build the trust relationship, add your WordPress site as a Service Provider (SP) in your custom IdP.
Instructions:
- Go to the plugin’s Service Provider (SP) Metadata tab. You’ll find all the necessary details here to configure in your Identity Provider (IdP).
- Enter these details in your IdP manually.
- If your IdP provides an option to upload metadata, you can simply upload the SP metadata file instead of entering the details manually.
-
Once done, download the IdP Metadata XML from your Identity Provider.
Note: If your IdP doesn’t provide a metadata file, copy the IdP Entity ID (Issuer) and the Single Sign-On (SSO) URL. These will be required later to configure the plugin.
Screenshots:
 on WordPress using any SAML Identity Provider 10")
Configuring IDP details in the WordPress SAML SSO Plugin
Return to your WordPress SAML SSO plugin and enter the Identity Provider (IdP) details provided by your IdP in the Identity Provider tab of the plugin.
Instructions:
- Navigate to the Identity Provider Setup tab in the plugin.
- You will have two configuration options:
- Automatic Configuration: Provide the IdP Metadata URL or upload the Metadata file.
- Manual Configuration: Click on the “Manual Configuration” option and enter the required IdP details manually.
- IDP Name: Enter Name of your IDP
- IDP Entity ID/Issuer: The unique identifier for your IdP, Provided by IDP
- SAML Login URL: The Single Sign-On URL provided by your IdP.
- X.509 Certificate: Paste the public certificate from your IdP here.
IdP Configuration Fields - If you have downloaded the metadata file from your IdP, upload it here. Otherwise, enter the details manually in the “Manual Configuration” tab.
- Click Save Configuration to apply the changes.
Important
After saving, make sure to click “Test Configuration” to verify that everything is working correctly.
If you encounter any issues, please reach out to our support team at support@keywoot.com. We are happy to assist you!
Screenshots:
 on WordPress using any SAML Identity Provider 11")
 on WordPress using any SAML Identity Provider 12")