You can Achieve a greater user experience by integrating WordPress Salesforce Single Sign-On (SSO) with your WordPress site if you have users stored in salesforce. This guide will walk you through the process of setting up Salesforce WordPress login using our WordPress Salesforce Single Sign-On plugin. By following these steps, you can configure Salesforce as your Identity Provider (IdP) and WordPress as your Service Provider (SP), ensuring a secure and efficient login process for your users using WordPress Salesforce SSO.
Introduction
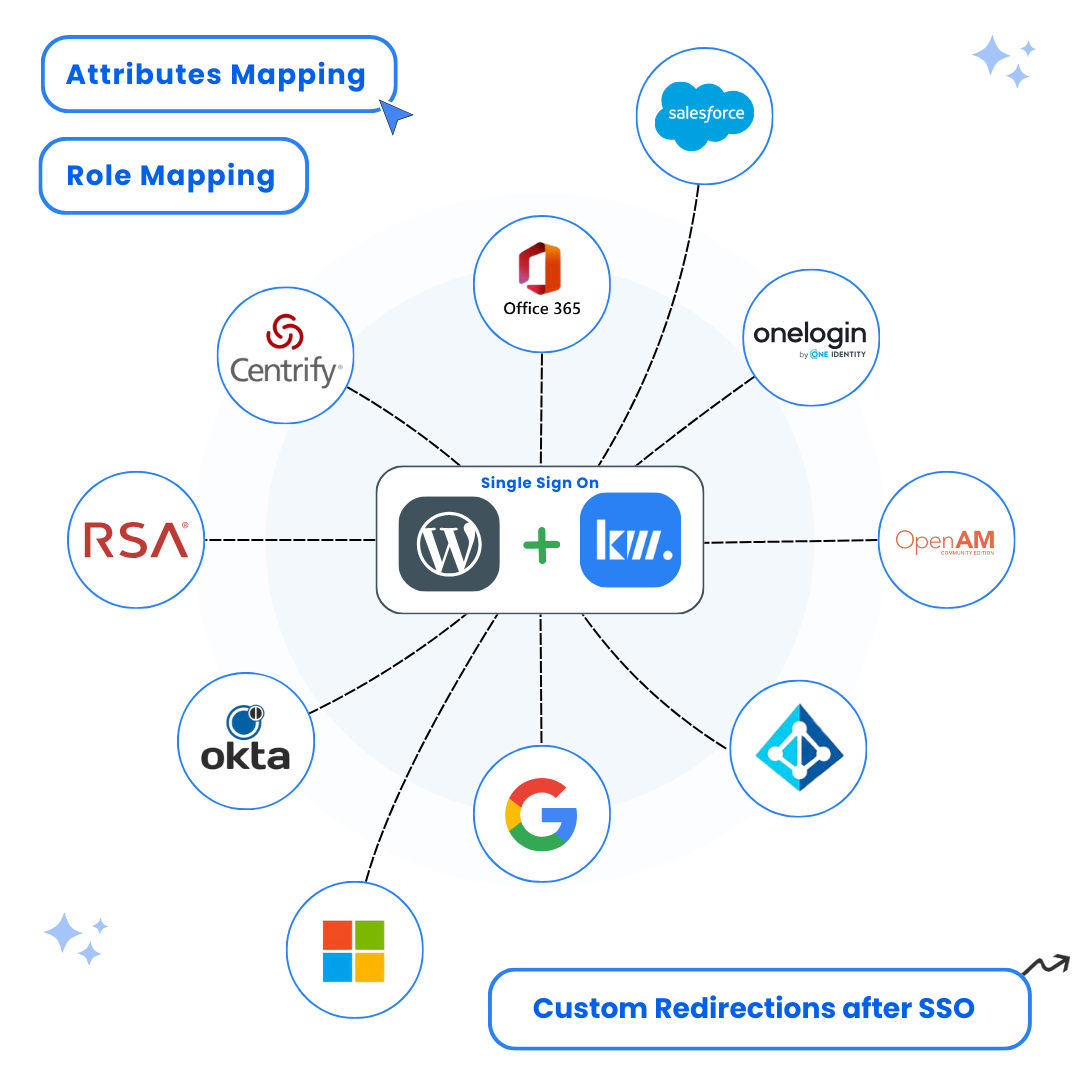
The integration of WordPress Salesforce SSO allows users to access your WordPress site using their Salesforce credentials, simplifying the login process and enhancing security. Our WordPress SAML Salesforce plugin facilitates this integration by supporting all SAML-compliant Identity Providers. This guide provides a detailed walkthrough to help you set up Salesforce as your IdP and configure WordPress to use Salesforce for authentication.
Pre-requisites: Download and Installation
- Log into WordPress
- Begin by logging into your WordPress admin dashboard. Ensure you have administrative privileges to install and activate plugins.
- Install the Plugin
- Navigate to Plugins in the WordPress dashboard and click on Add New.
- Search for “KeyWoot WordPress Single Sign-On (SSO) Plugin” and click Install Now.
- Once the plugin is installed, click Activate to enable it on your WordPress site.
- Explore Additional Features
- For a comprehensive overview of the plugin’s features, including advanced settings and configurations, visit the plugin’s information page.
Set Up Salesforce as the SAML Identity Provider (IdP) for WordPress Salesforce SSO
- Access Salesforce Setup
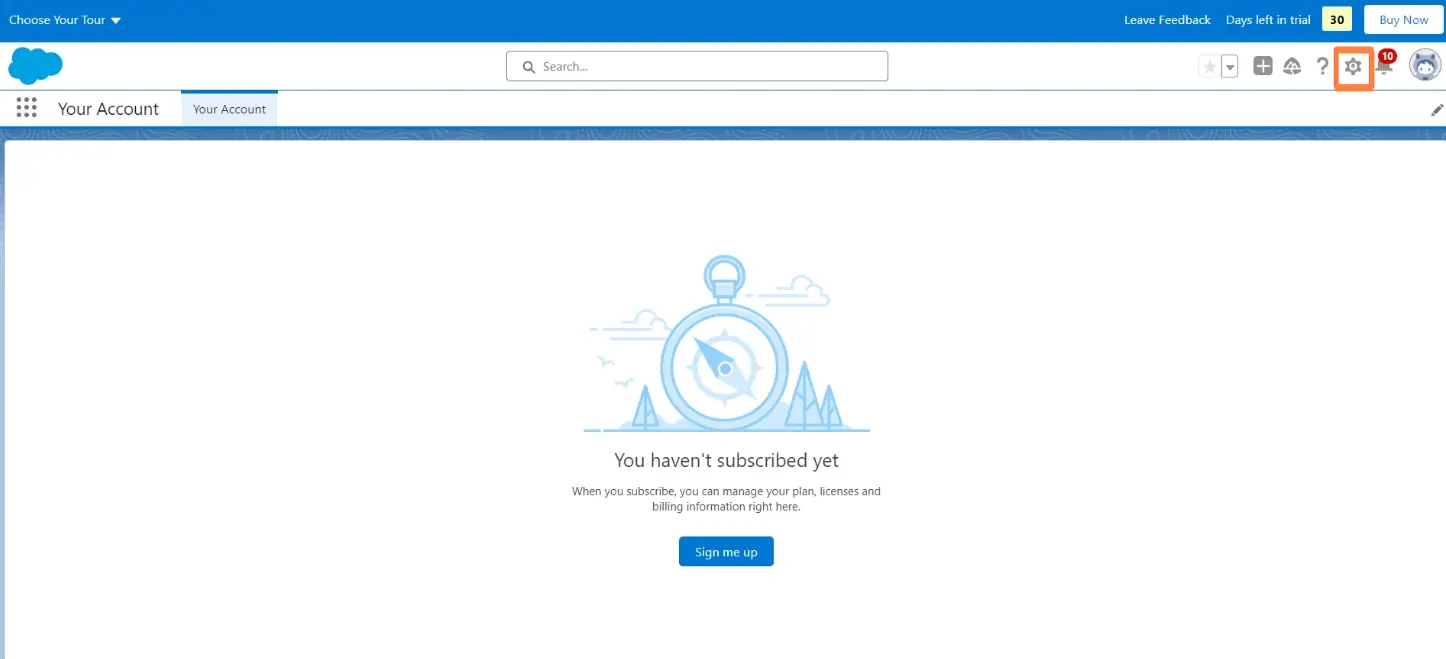
- Log into Salesforce with admin credentials.
- Switch to Salesforce Lightning mode by selecting it from the profile menu, then open the Setup page by clicking on the setup button in the upper-right corner.
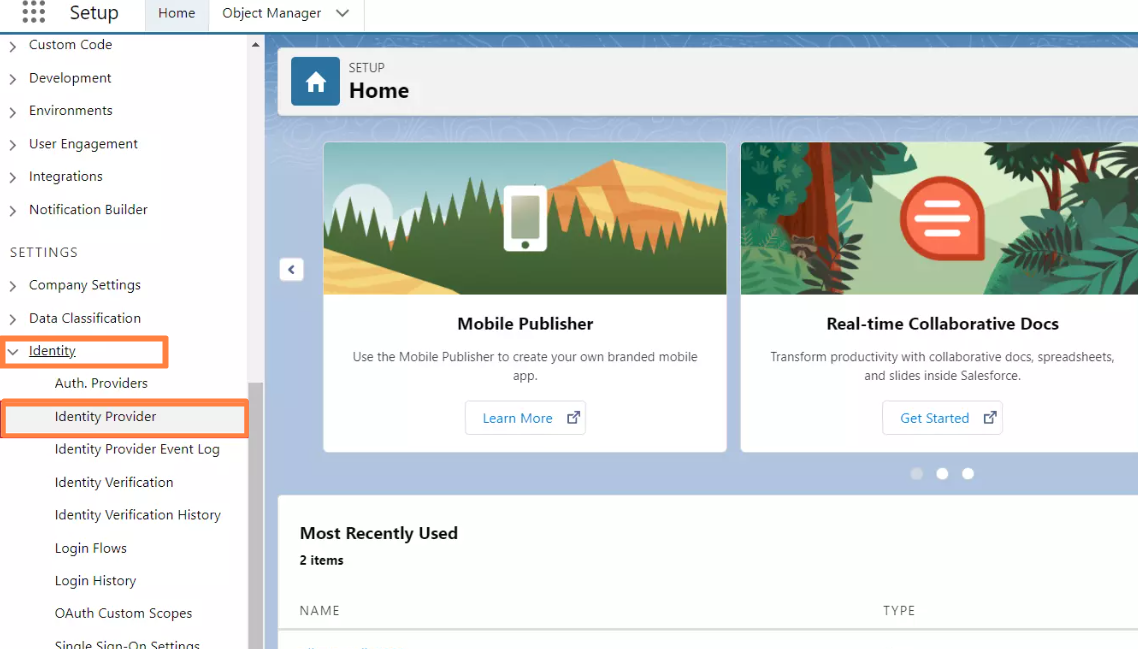
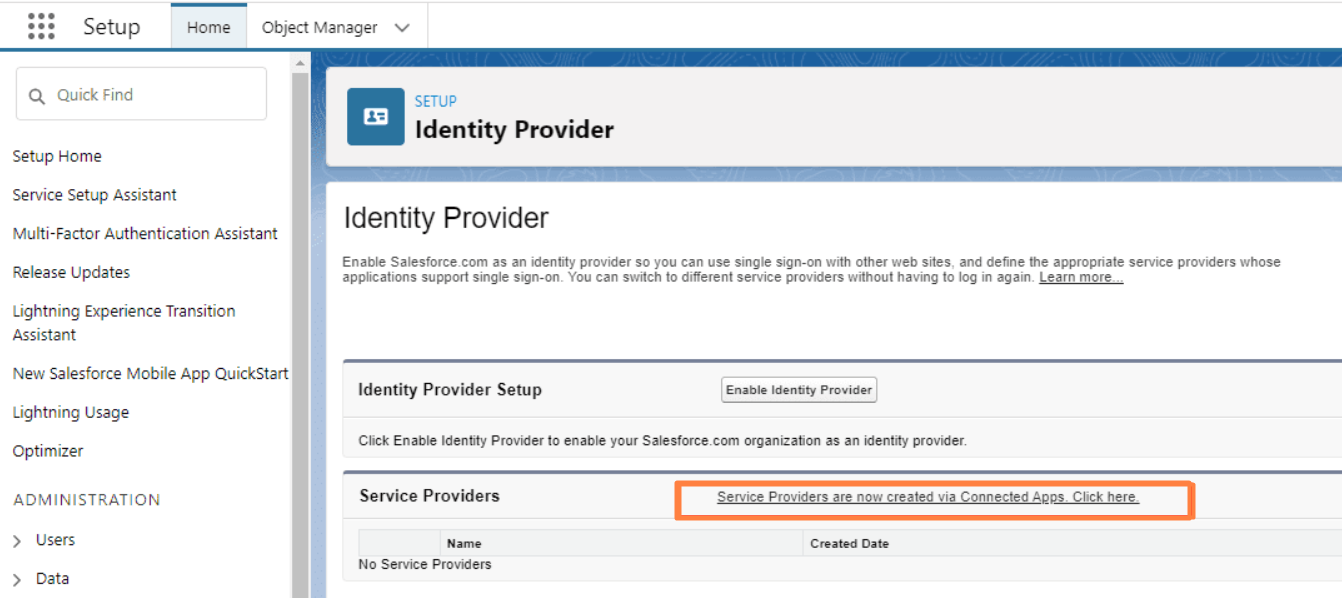
- Enable Identity Provider
- From the Salesforce Setup page, navigate to Settings and click on Identity Provider.
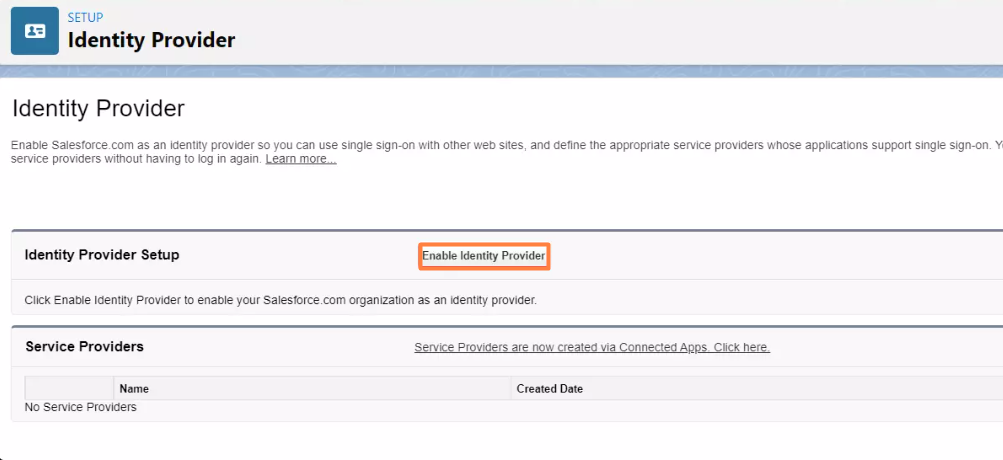
- Click Enable Identity Provider. This action will activate Salesforce’s role as an IdP for SAML SSO.
- Create a Connected App
- Under Service Provider, select the option to create a Connected App.
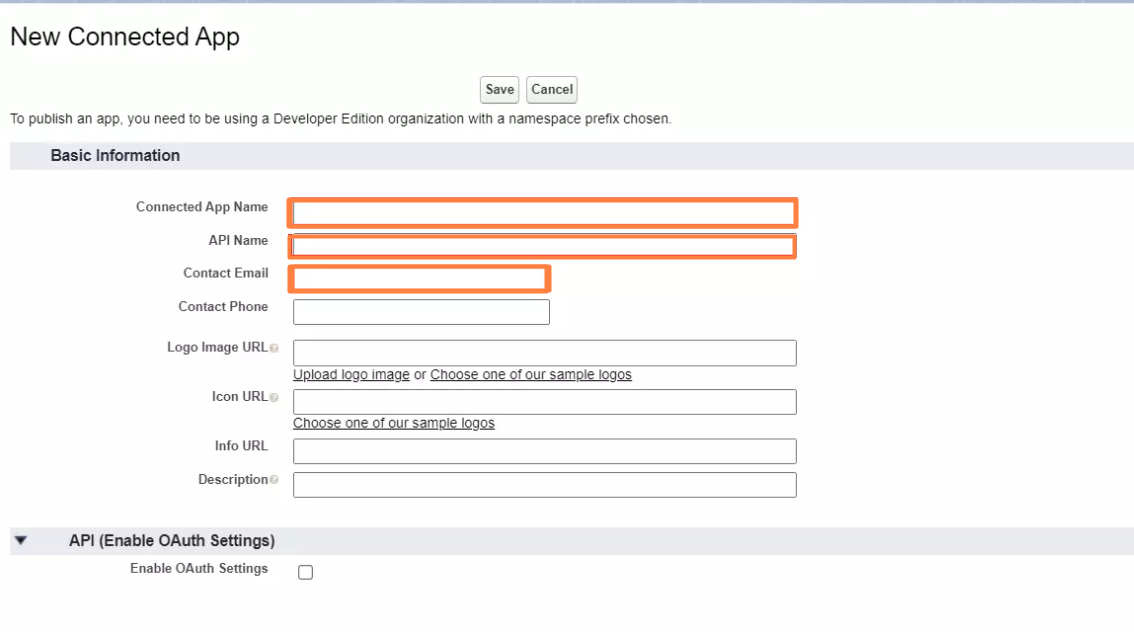
- Fill in the details for the Connected App:
- Connected App Name: Choose a name that identifies the app clearly.
- API Name: Provide a unique API name for the Connected App.
- Contact Email: Enter an email address for administrative contact.
- Configure SAML Settings
- Under the Web App Settings section, check the Enable SAML checkbox.
- Input the following information, you can find these data from plugin SP Metadata tab
- Entity ID: Enter the SP Entity ID from the Service Provider Metadata tab in the WordPress SAML plugin.
- ACS URL: Input the Assertion Consumer Service (ACS) URL from the same tab.
- Subject Type: Select Username.
- Name ID Format: Choose urn:oasis:names:tc:SAML:2.0:nameid-format:unspecified.
- Click Save to store these settings.
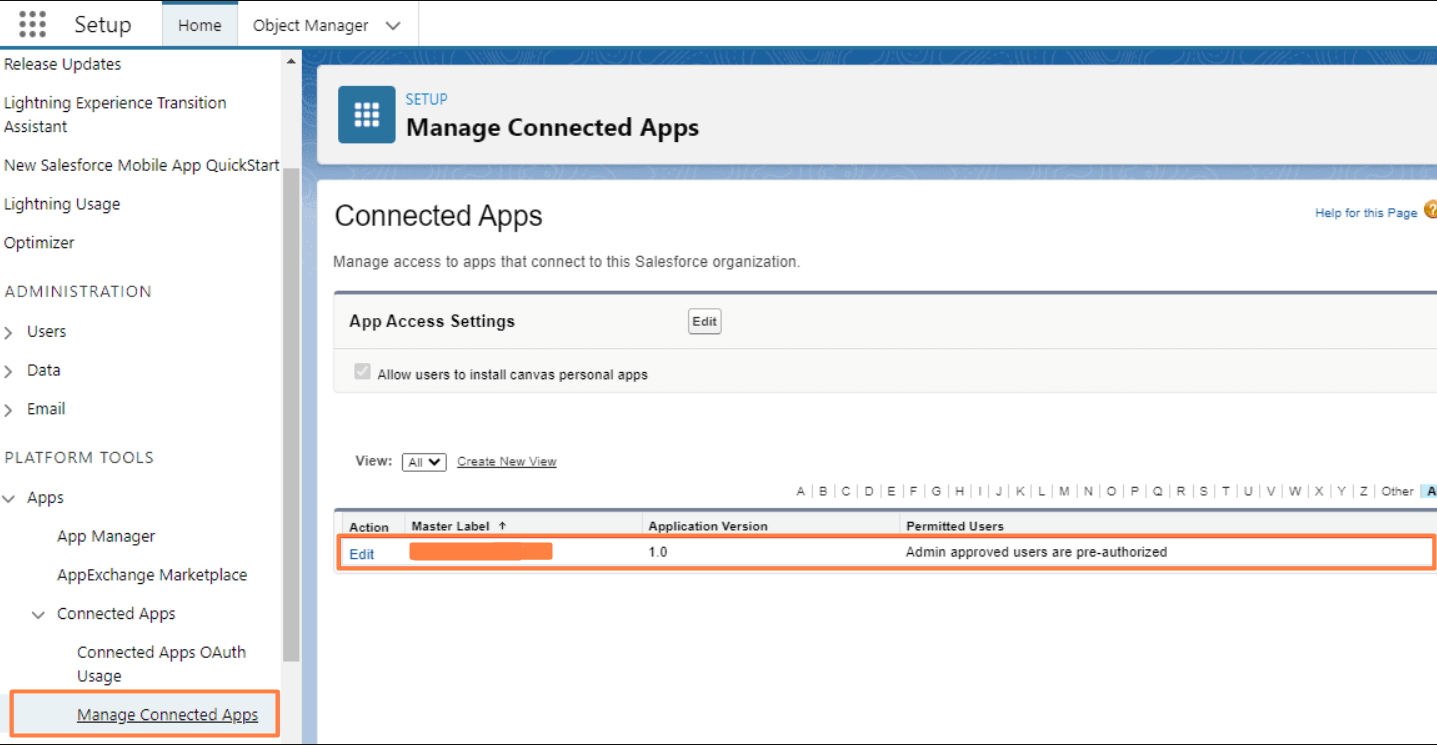
- Assign Profiles
- Go to Platform Tools → Connected Apps → Manage Connected Apps.
- Select the app you created and click Manage Profiles.
- Assign the profiles that should have access to this app.
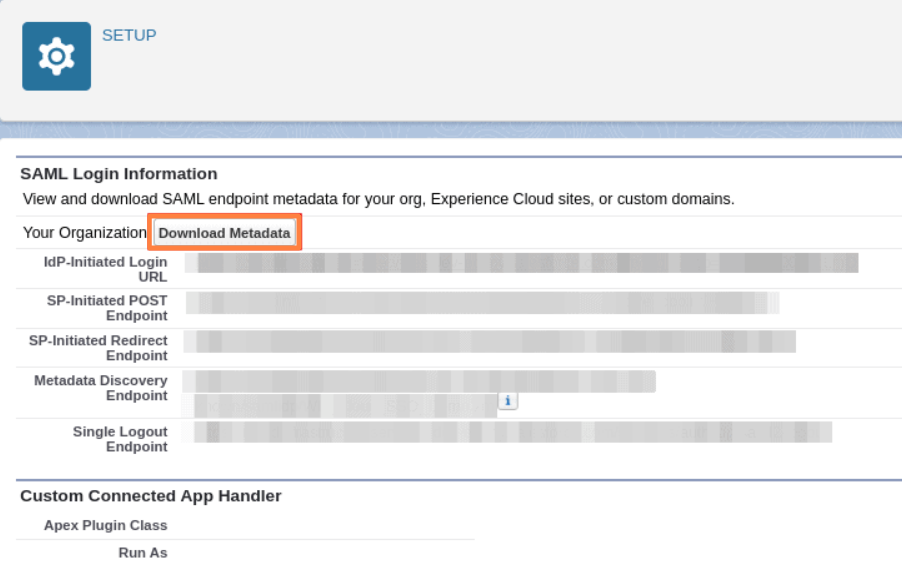
- Download Metadata
- Under SAML Login Information, click Download Metadata.
- Save this metadata file securely; it will be used for configuring WordPress.


Configure WordPress as the Service Provider (SP) for WordPress Salesforce login with SSO
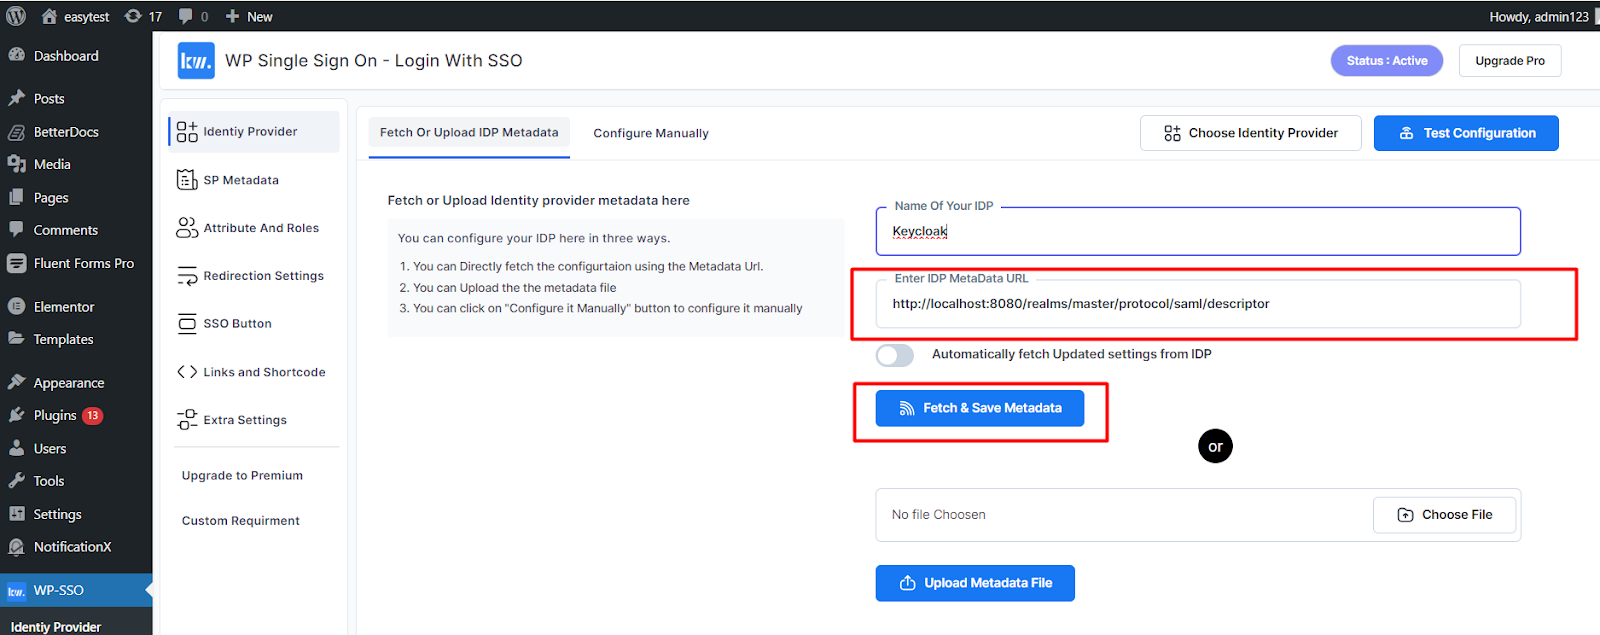
- Upload IdP Metadata
- In your WordPress SAML SSO plugin, navigate to the Service Provider Setup tab.
- Click Upload IdP Metadata.
- Enter the Identity Provider Name.
- You can either upload the metadata file you downloaded from Salesforce or use a metadata URL to fetch it.
- For premium users, enable auto-sync to automatically update the configuration as per the IdP metadata.
- Test Configuration
- Click Test Configuration to verify that the attributes and values sent by Salesforce are correctly received by WordPress.
- If you are using the premium version of the plugin, you can also configure the SAML Logout URL to support Single Logout functionality.
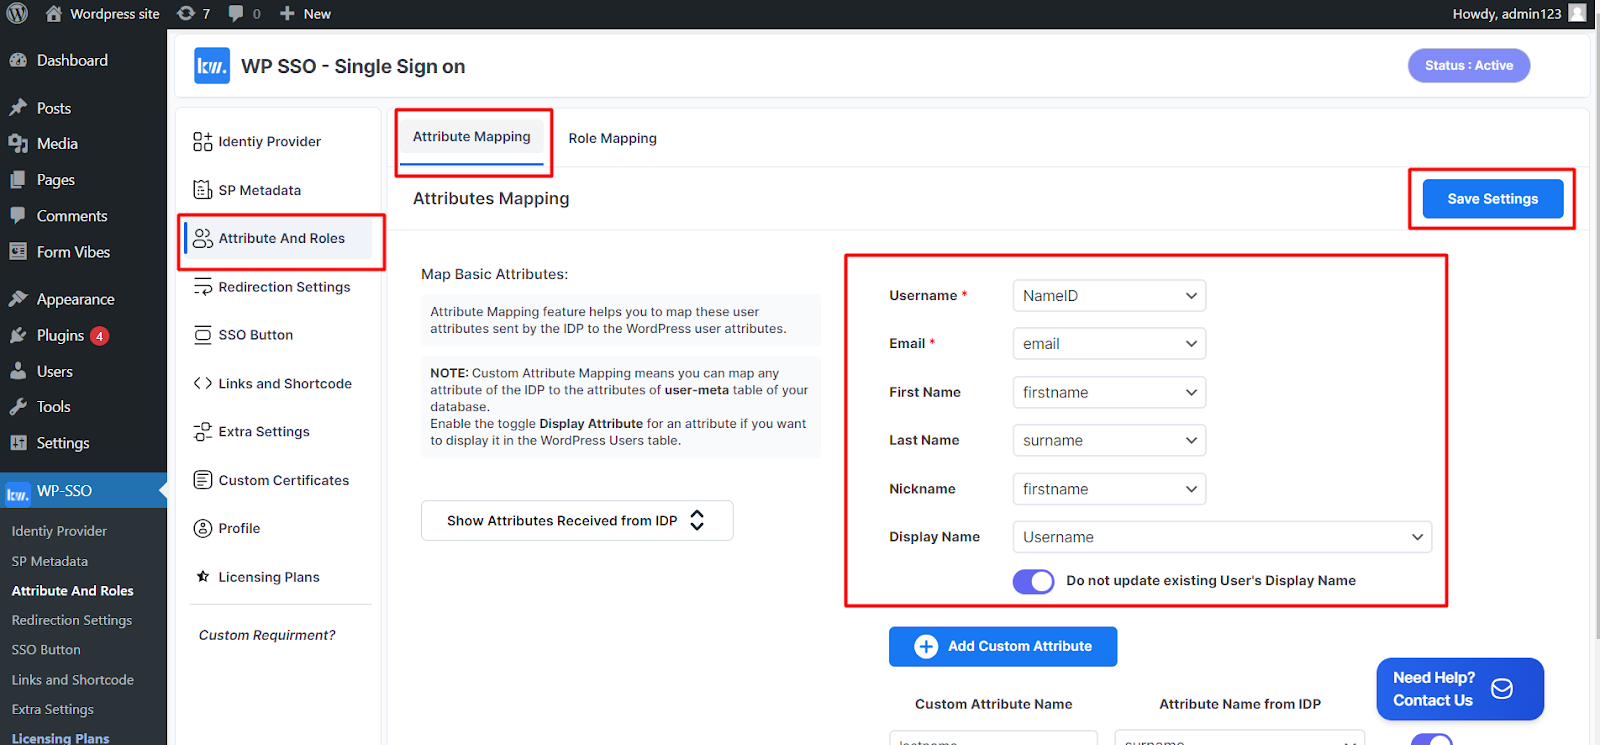
Attribute Mapping for WordPress Salesforce SSO
- Set Up Attribute Mapping
- Go to the Attribute/Role Mapping tab in the WordPress SAML plugin.
- Here, you can map user attributes sent by Salesforce to corresponding attributes in WordPress.
- Use the Custom Attribute Mapping feature to align any additional attributes sent by Salesforce with the WordPress usermeta table.
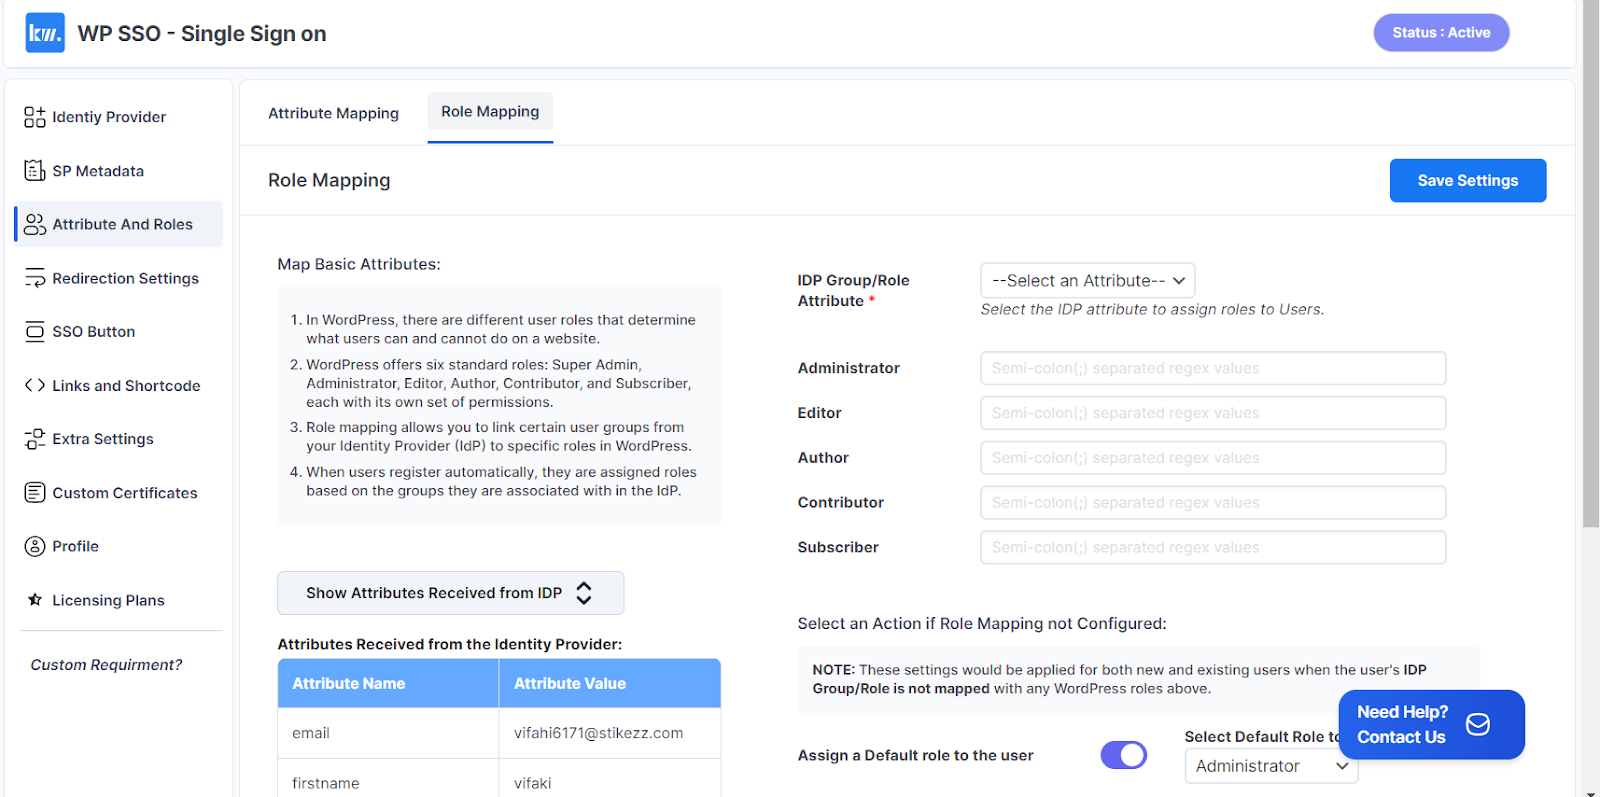
Role Mapping for Salesforce WordPress login
- Configure Role Mapping
- In the same Attribute Mapping section, set up role mappings.
- Define how Salesforce roles correspond to WordPress roles. For instance, map the Salesforce wp-editor role to the WordPress Editor role.
- Ensure that the mapping accurately reflects your organization’s role structure for proper access control.
Configure Other Settings for WordPress Salesforce SSO
- Auto-Redirection Options
- In the Redirection and SSO Links tab, configure auto-redirection settings:
- Auto-Redirection from Site: Enable this option to redirect unauthenticated users to the Salesforce login page. Once authenticated, they will be redirected back to the page they initially tried to access.
- Auto-Redirection from WordPress Login: Enable this to redirect unauthenticated users attempting to access the WordPress login page to Salesforce. After authentication, they will be redirected back to the WordPress site.
- In the Redirection and SSO Links tab, configure auto-redirection settings:
- Add Login Button and SSO Links
- Customize the login experience by adding a login button on your site. Navigate to the Login Button section to configure this feature.
- Utilize shortcodes and widgets from the SSO Links section to place SSO links throughout your WordPress site, enhancing accessibility and user convenience.
- Enable Backdoor Login
- Ensure that the backdoor login option is enabled. This provides a fallback access method in case you encounter issues with Salesforce login.
Conclusion
By following these steps, you’ve successfully set up Salesforce Single Sign-On (SSO) for your WordPress Salesforce SSO integration. This setup not only simplifies the login process for your users but also enhances security by centralizing authentication through Salesforce. Your WordPress site is now configured to use Salesforce WordPress login credentials, providing a seamless and secure access experience.
Frequently Asked Questions (FAQ)
1. What is Salesforce Single Sign-On (SSO) and how does it integrate with WordPress?
- Salesforce SSO allows users to log into multiple applications using their Salesforce credentials. By configuring Salesforce as the Identity Provider and WordPress as the Service Provider, users can access your WordPress site with their existing Salesforce login, streamlining the authentication process.
2. How can I obtain the IdP metadata from Salesforce?
- To obtain the IdP metadata, log into Salesforce, enable Identity Provider settings, and create a Connected App. Then, navigate to the SAML Login Information section and download the metadata file. This file contains the necessary configuration details for integrating with WordPress.
3. Can I customize the login experience for users after WordPress Salesforce SSO?
- Yes, you can customize the login experience by adding a login button to your site and using shortcodes and widgets for SSO links. This allows you to tailor the login interface to match your site’s branding and user experience.
4. What if I lose access to Salesforce?
- Ensure that you have enabled the backdoor login option in your WordPress SAML plugin settings. This provides an alternative login method if you encounter issues with Salesforce authentication.
5. How do I troubleshoot issues with the WordPress Salesforce SSO integration?
- If you encounter issues, verify your configuration settings in both Salesforce and WordPress. Check the metadata upload and test configuration results. If problems persist, refer to the plugin’s documentation or contact support for assistance.
For further support or detailed instructions, visit our plugin’s documentation page. This guide ensures that your WordPress Salesforce Single Sign-On setup is completed smoothly, allowing users to access your site securely and efficiently.